
How to grow your own Micro Greens
Micro greens are so easy and fun to grow. So, I thought I would put together this easy guide to help you grow your own micro greens all year round.
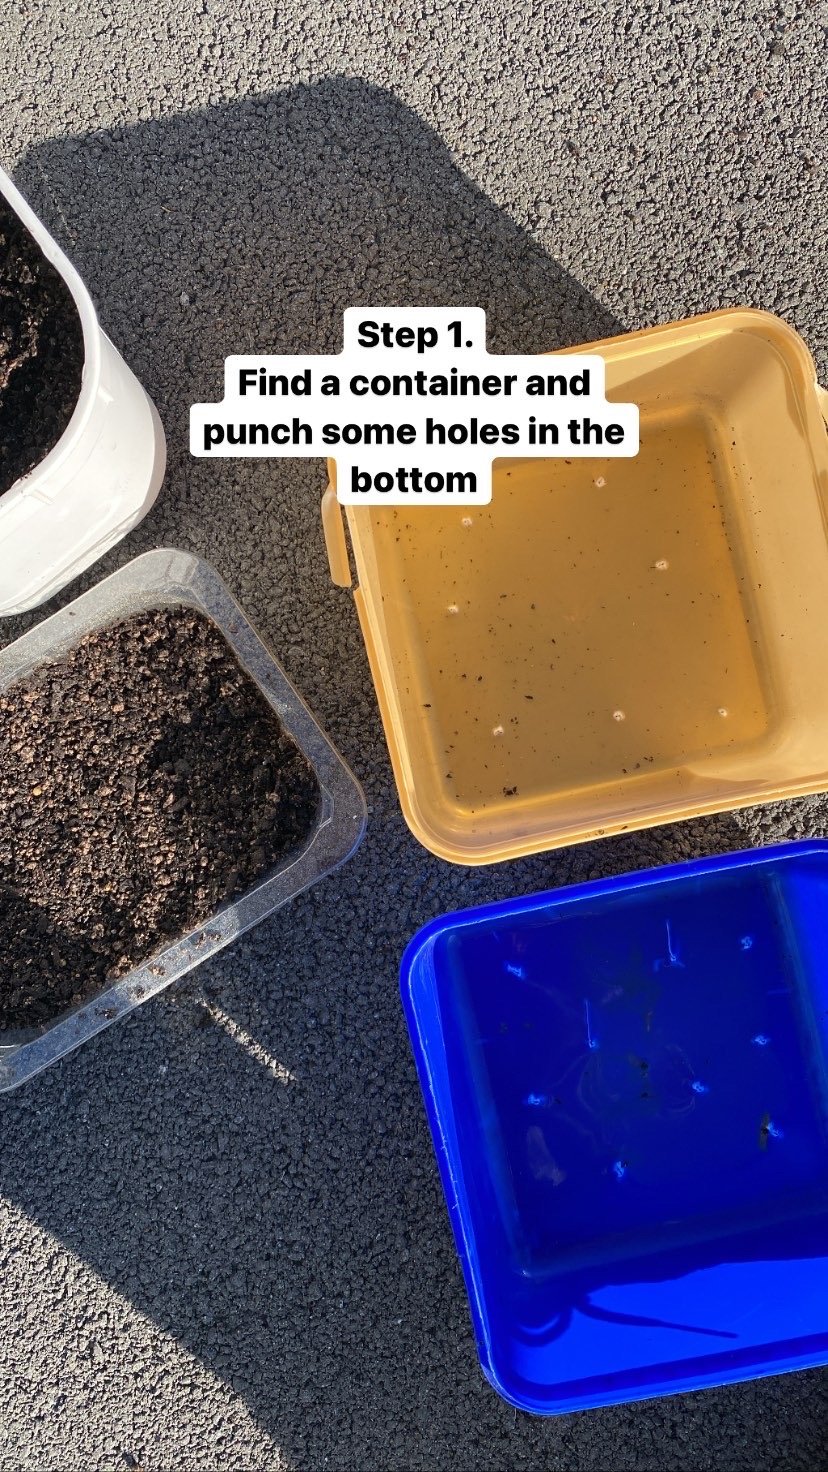
Step 1:
Find a container and make sure it has some small drainage holes in the bottom. I like to use recycled ice cream containers or meat trays. If you use an ice cream container, you can use the lid to catch the water underneath the container. You can use old terracotta pots or any pots you have already around the house. Even old cake tins work, just pop some stones in the bottom.
Step 2:
Fill the container up with seed raising mix or potting mix. Make sure the soil it right up to near the top of the container with about a 1cm gap. You will need to space for the seeds and the extra soil you add later on. Please note if you are opening a bag of seed raising mix or potting mix, you should always take care and follow the recommended guidelines.
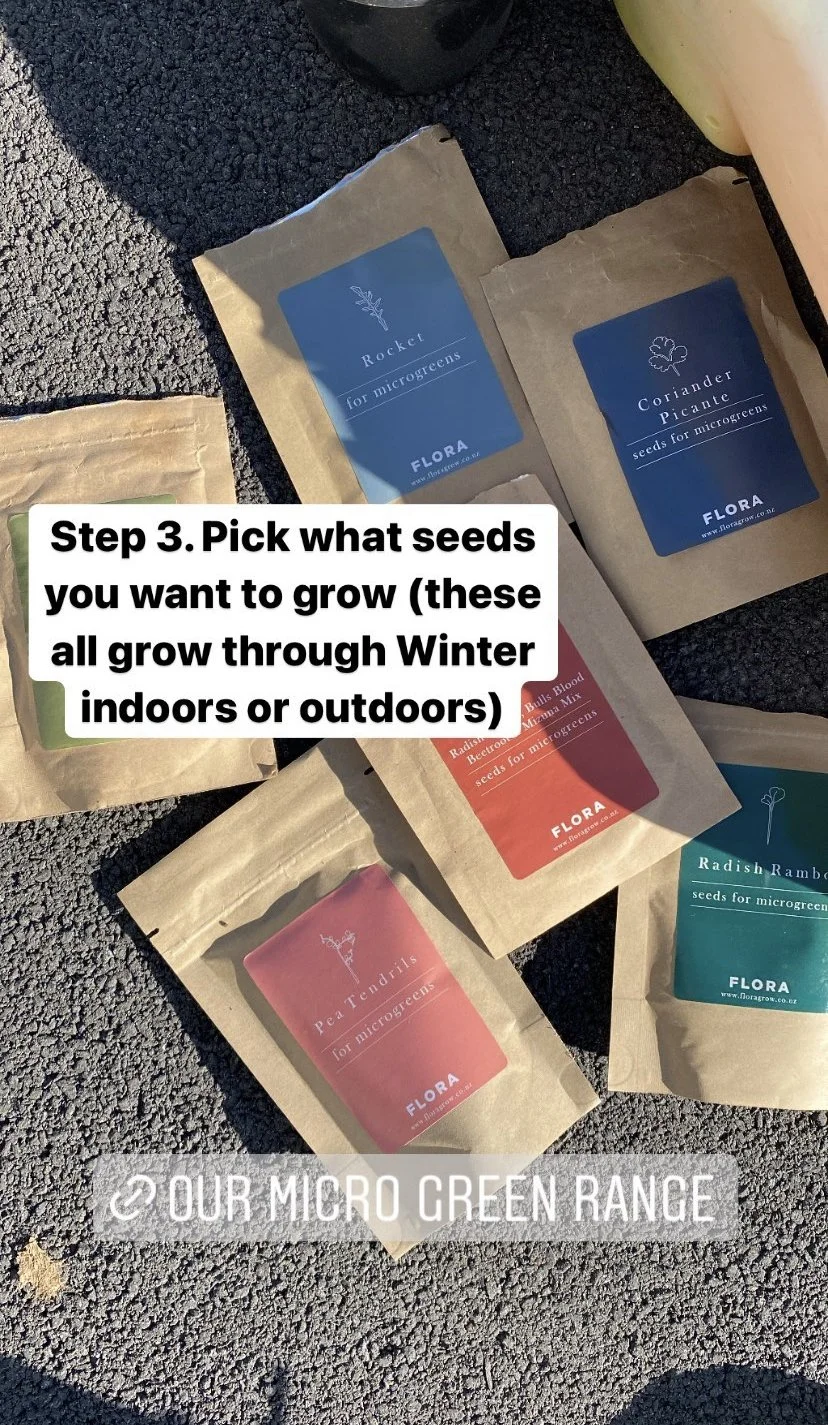
Step 3:
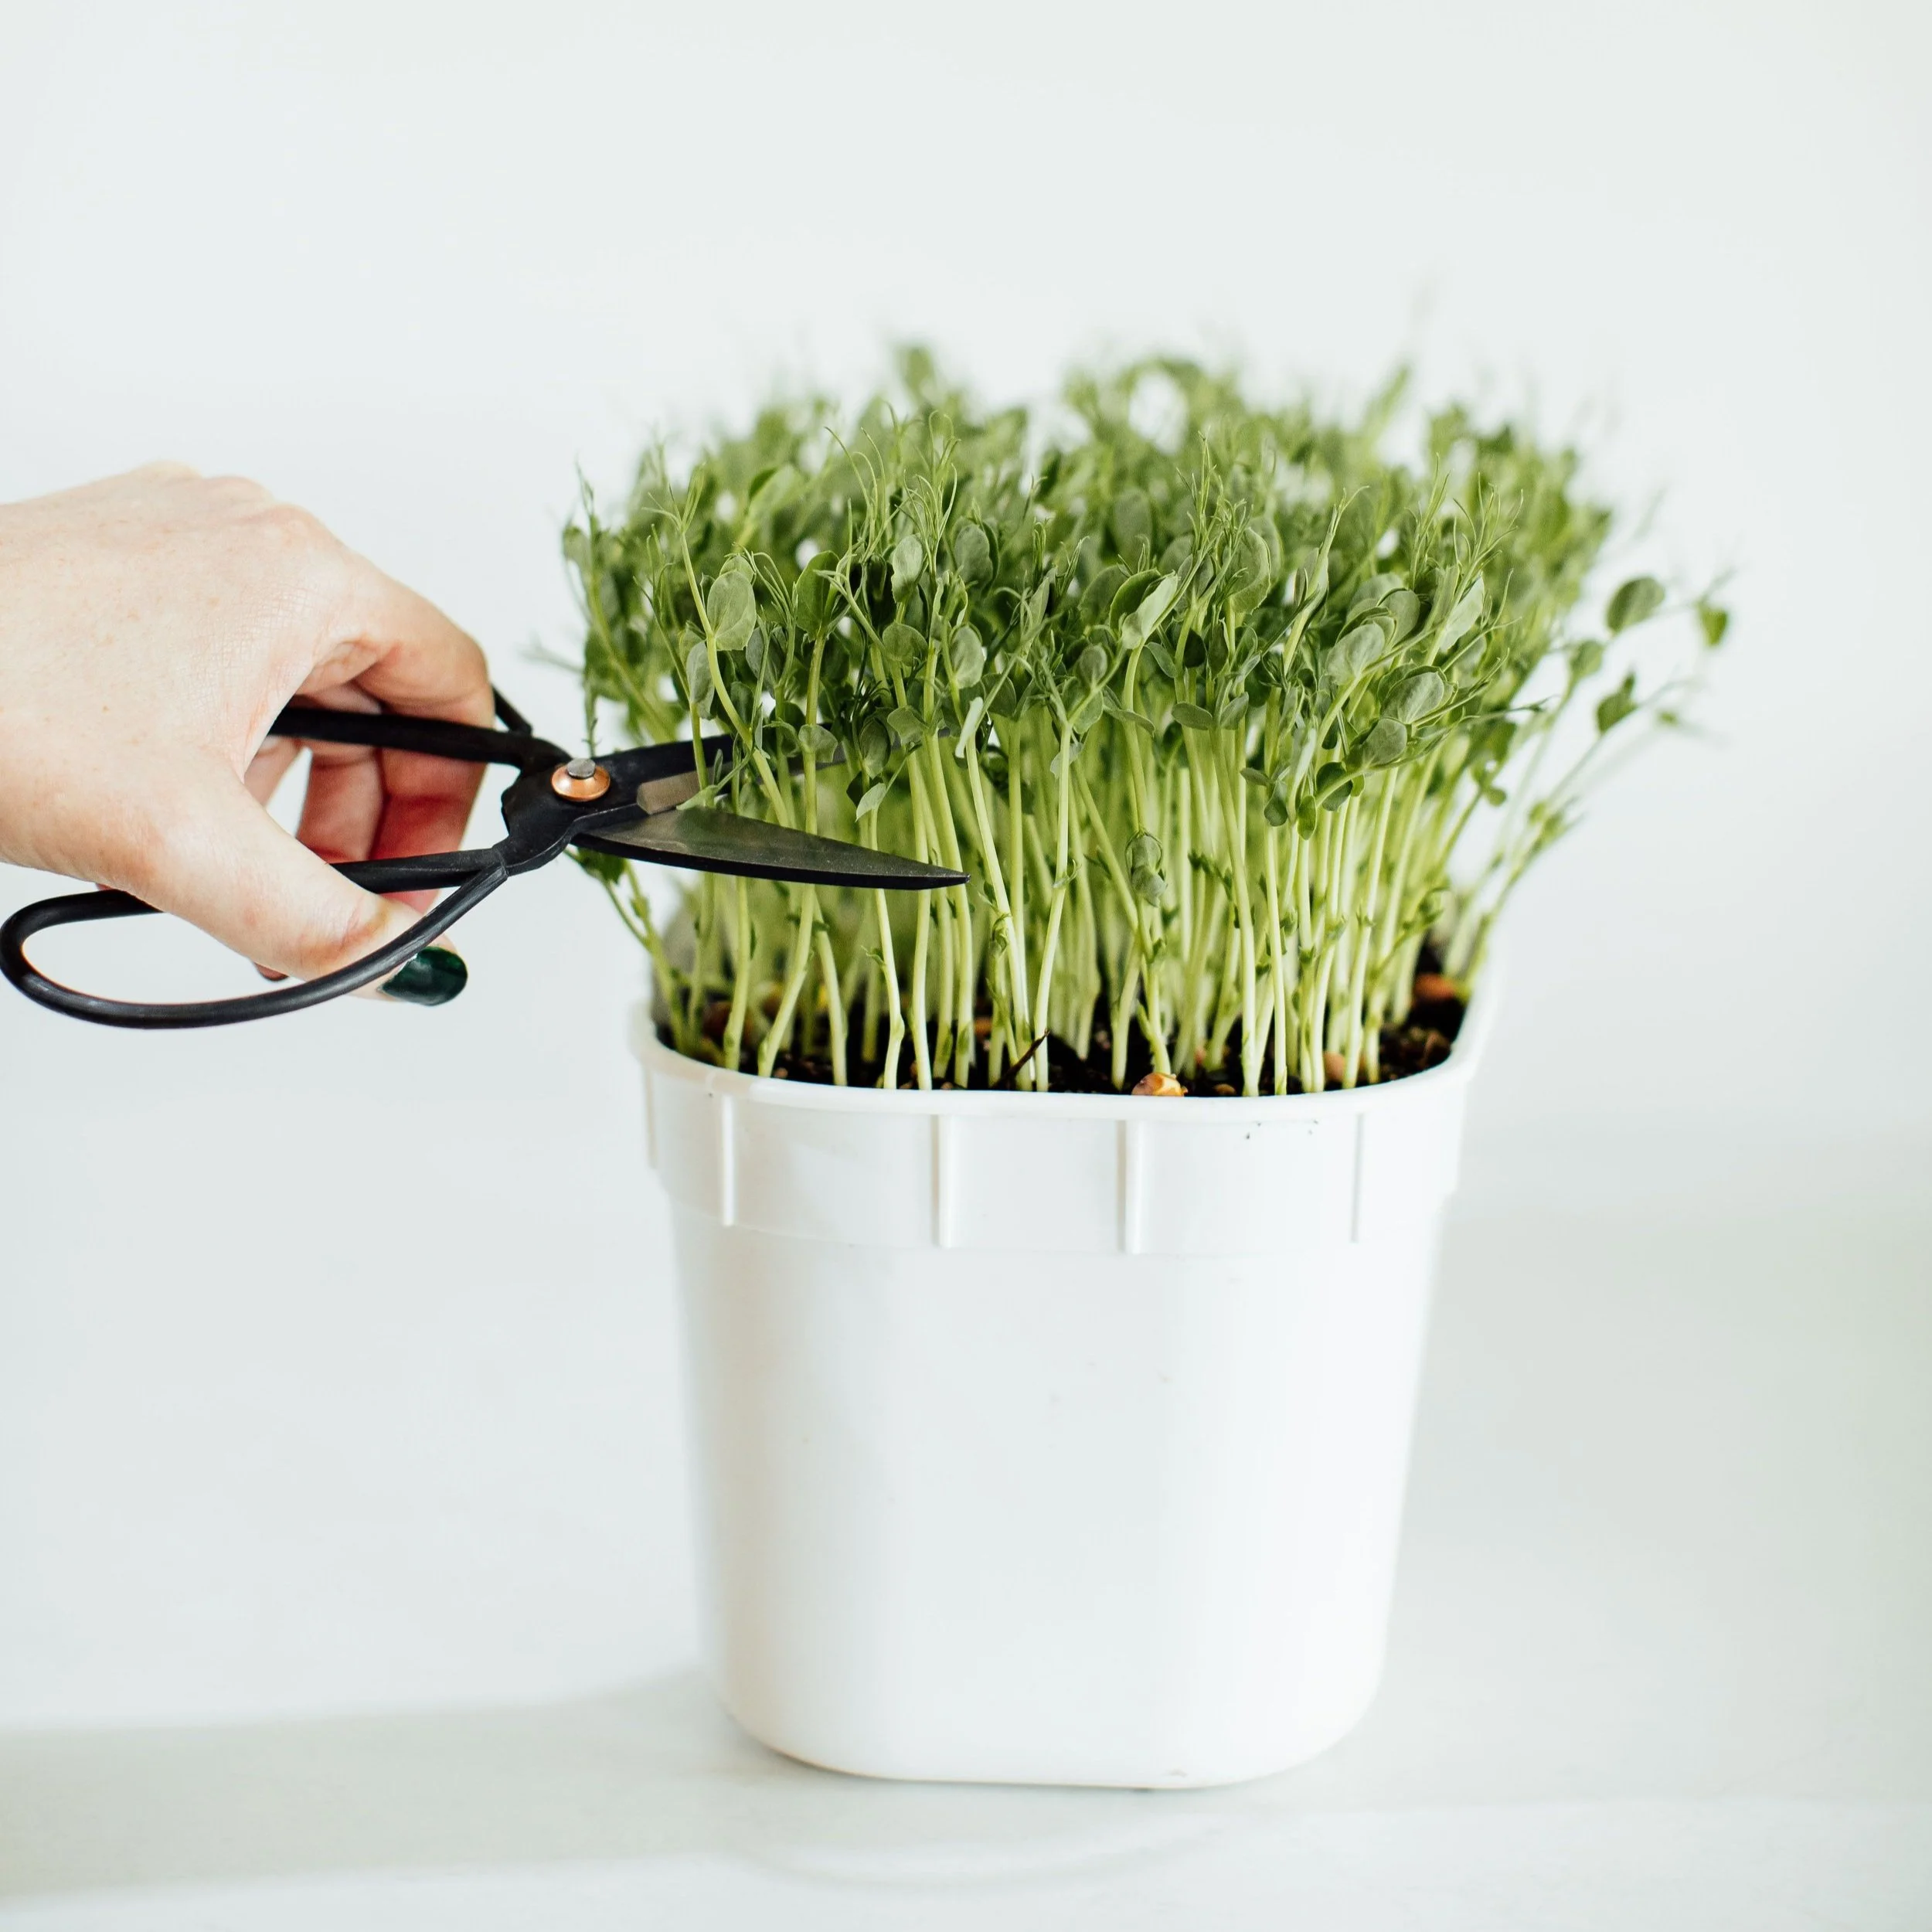
Pick what seeds you want to grow. If you want to grow something that you can eat really fast (within 7 days) try growing Rocket, Broccoli or Radish. If you aren’t in a hurry then Peas and Coriander take longer to grow but will last you for weeks and weeks. View our full range of micro greens here. With Peas you just need to cut them above the bottom leaf to make them grow again. See guide below for more instructions.
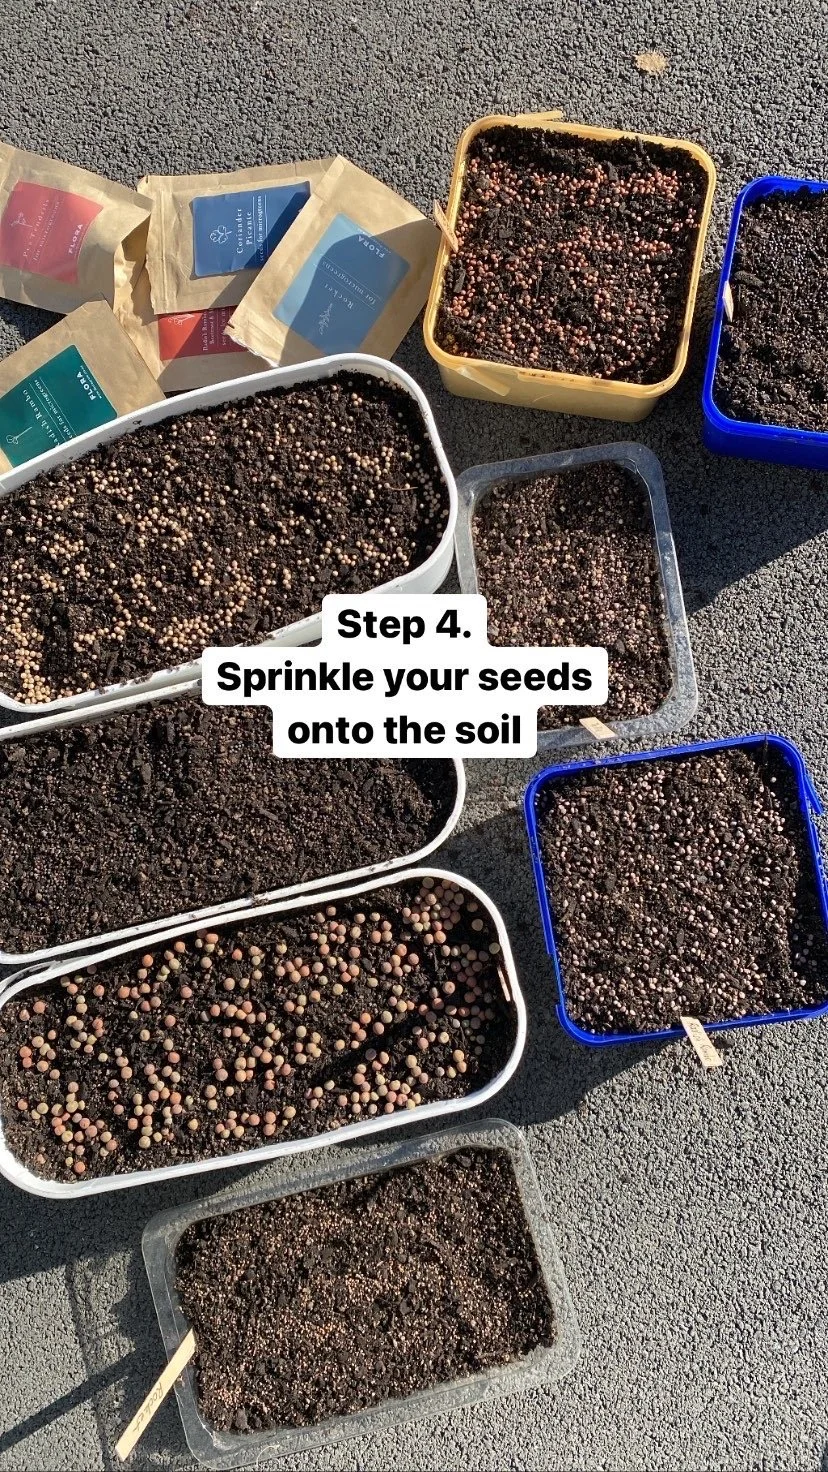
Step 4:
Sprinkle your chosen seeds over the surface of the soil. You don’t need to spread them too thick, see the images below for more direction. The more you spread them out, the bigger the leaves will get. Once packet of our micro greens will last you multiple sowings so don’t use all of the seeds up at once.
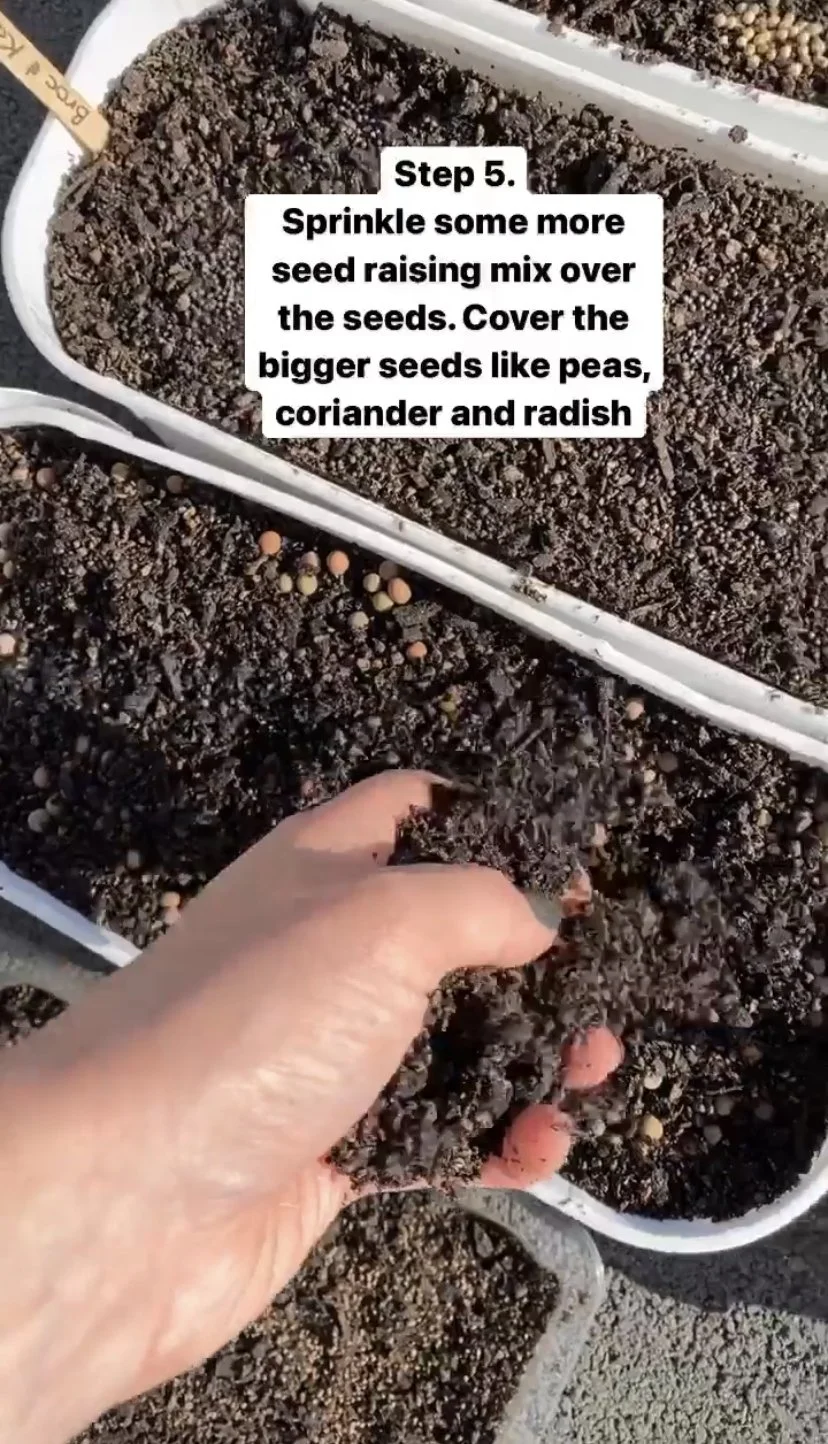
Step 5:
These seeds like the dark to germinate so it is best to sprinkle a little bit of soil over top of the seed. With the really small seeds like Rocket or Basil, you can just sit some newspaper over the top of the container for the first 3-4 days. With the bigger seeds like Peas and Coriander you can sprinkle more soil to cover these seeds as they’re much bigger and take longer to germinate.
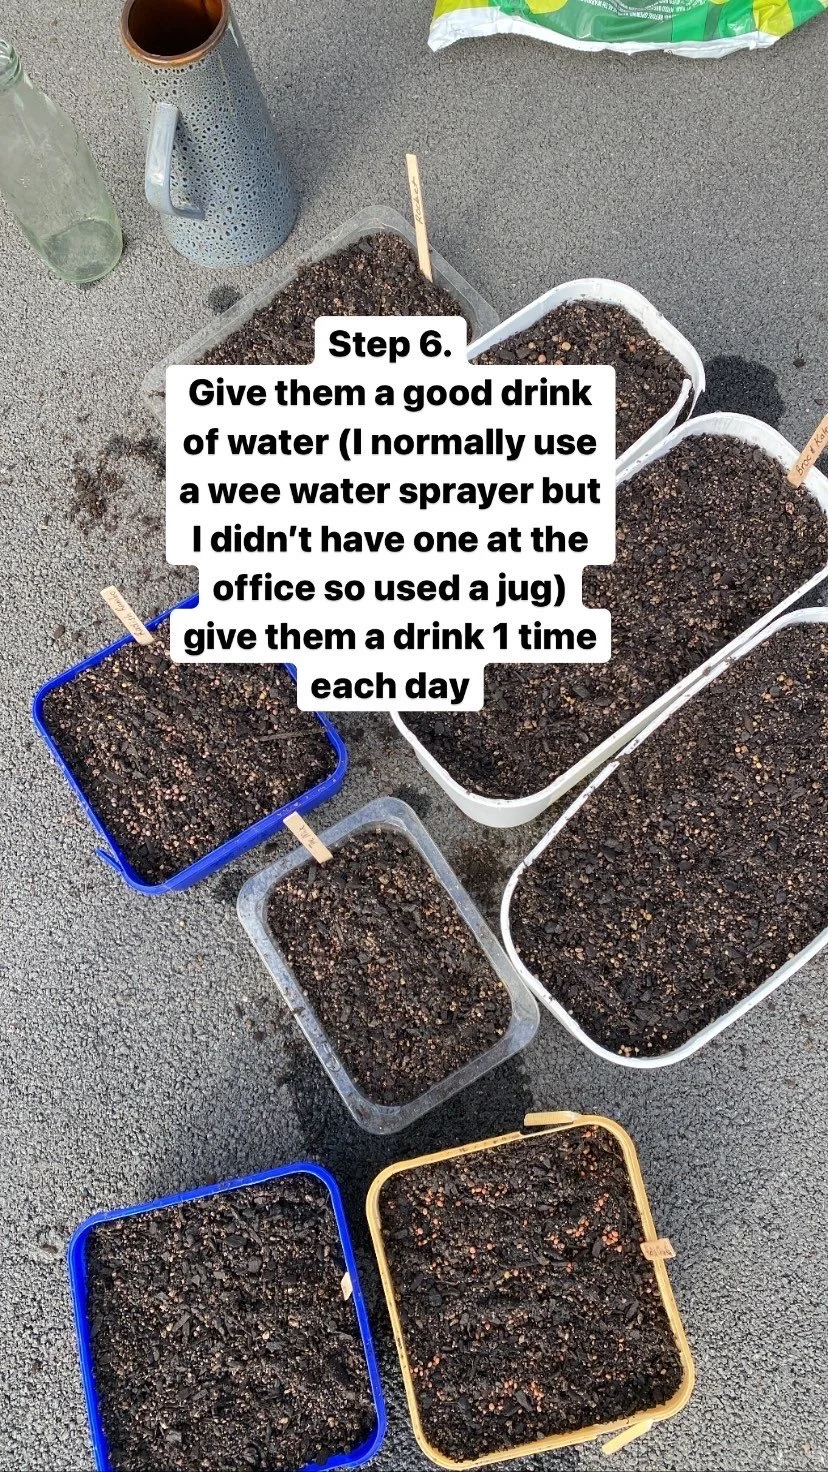
Step 6:
Water your seeds in gently so you don’t move them around. I use a spray bottle and water them each day. They will require more water during the germination period (The time leading up to the seed putting down a root). But don’t give them too much water!
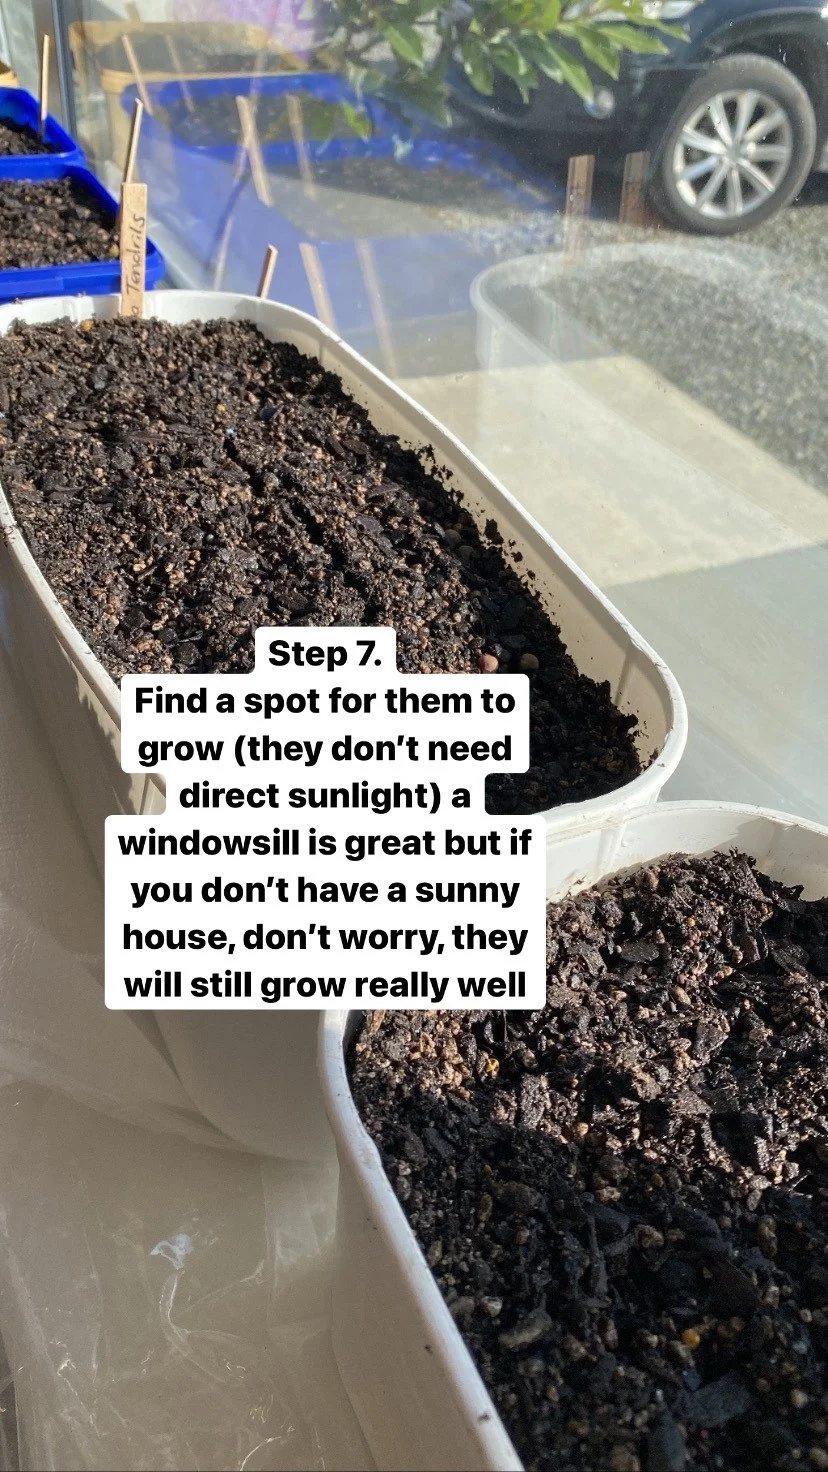
Step 7:
Find a spot for them to grow, remember, they don’t need direct sunlight. I grow mine on the kitchen bench and have some growing outside too. The beauty of micro greens is you can grow them all year around.
Step 8:
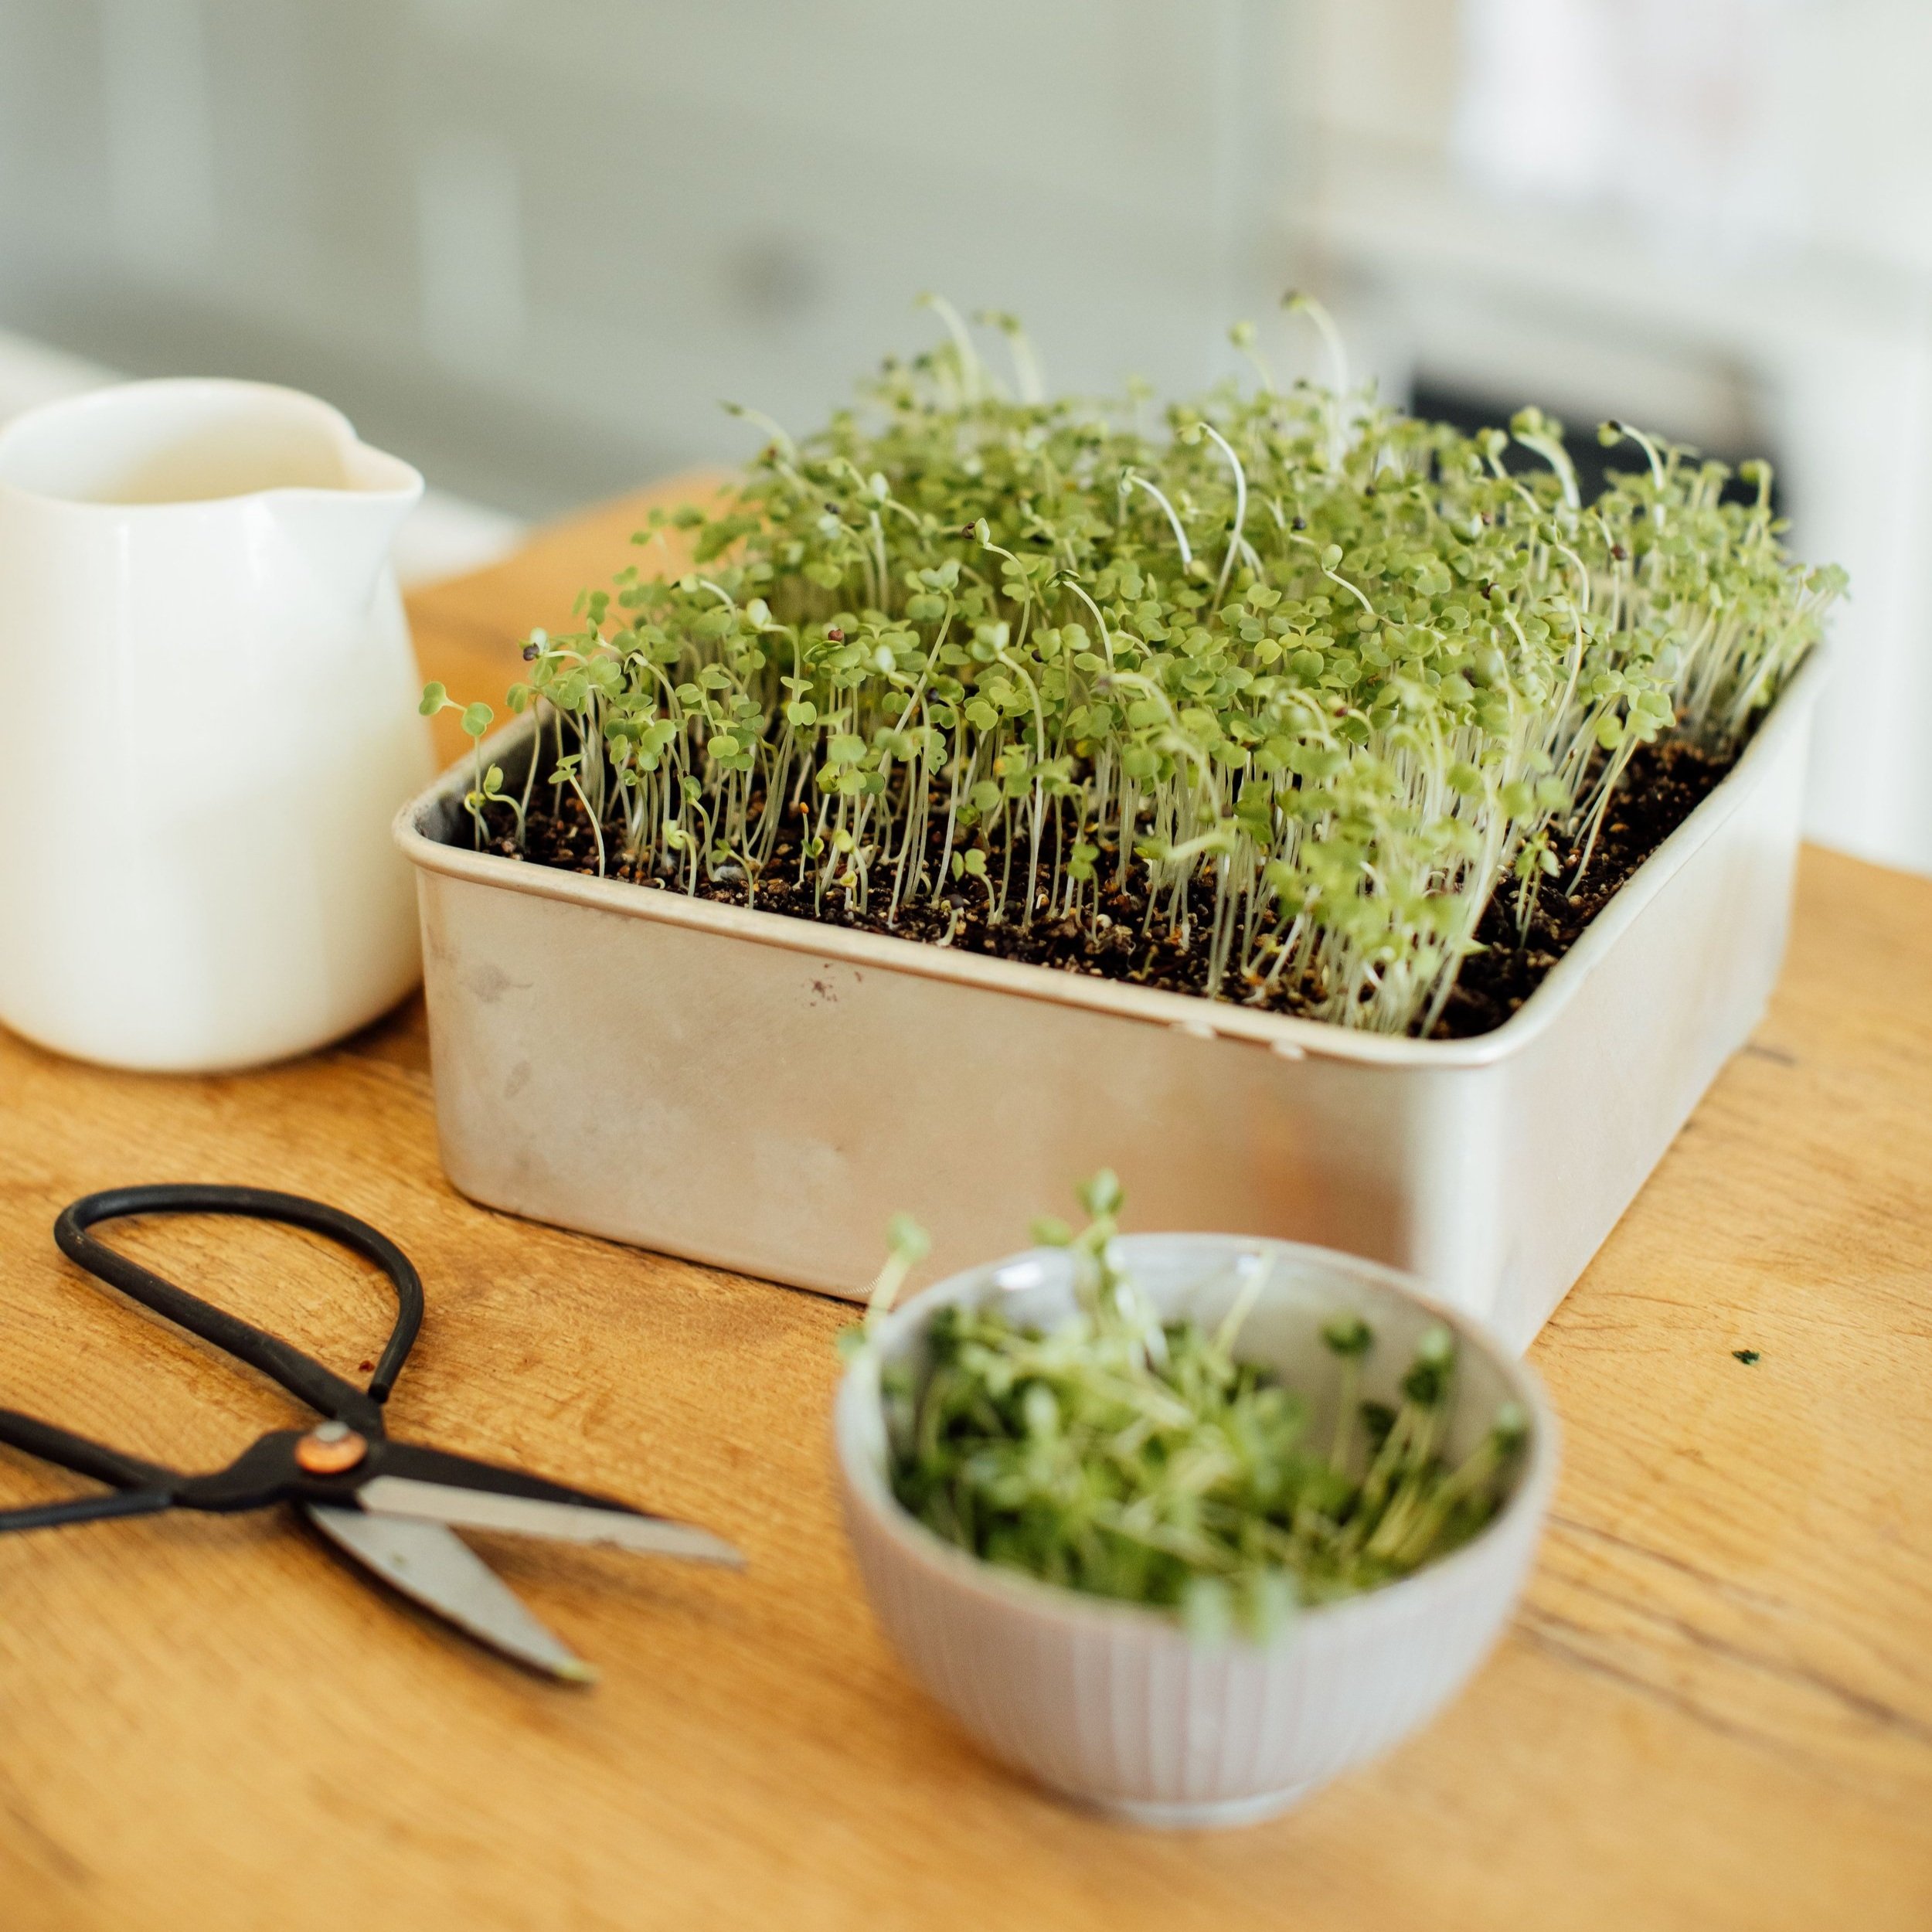
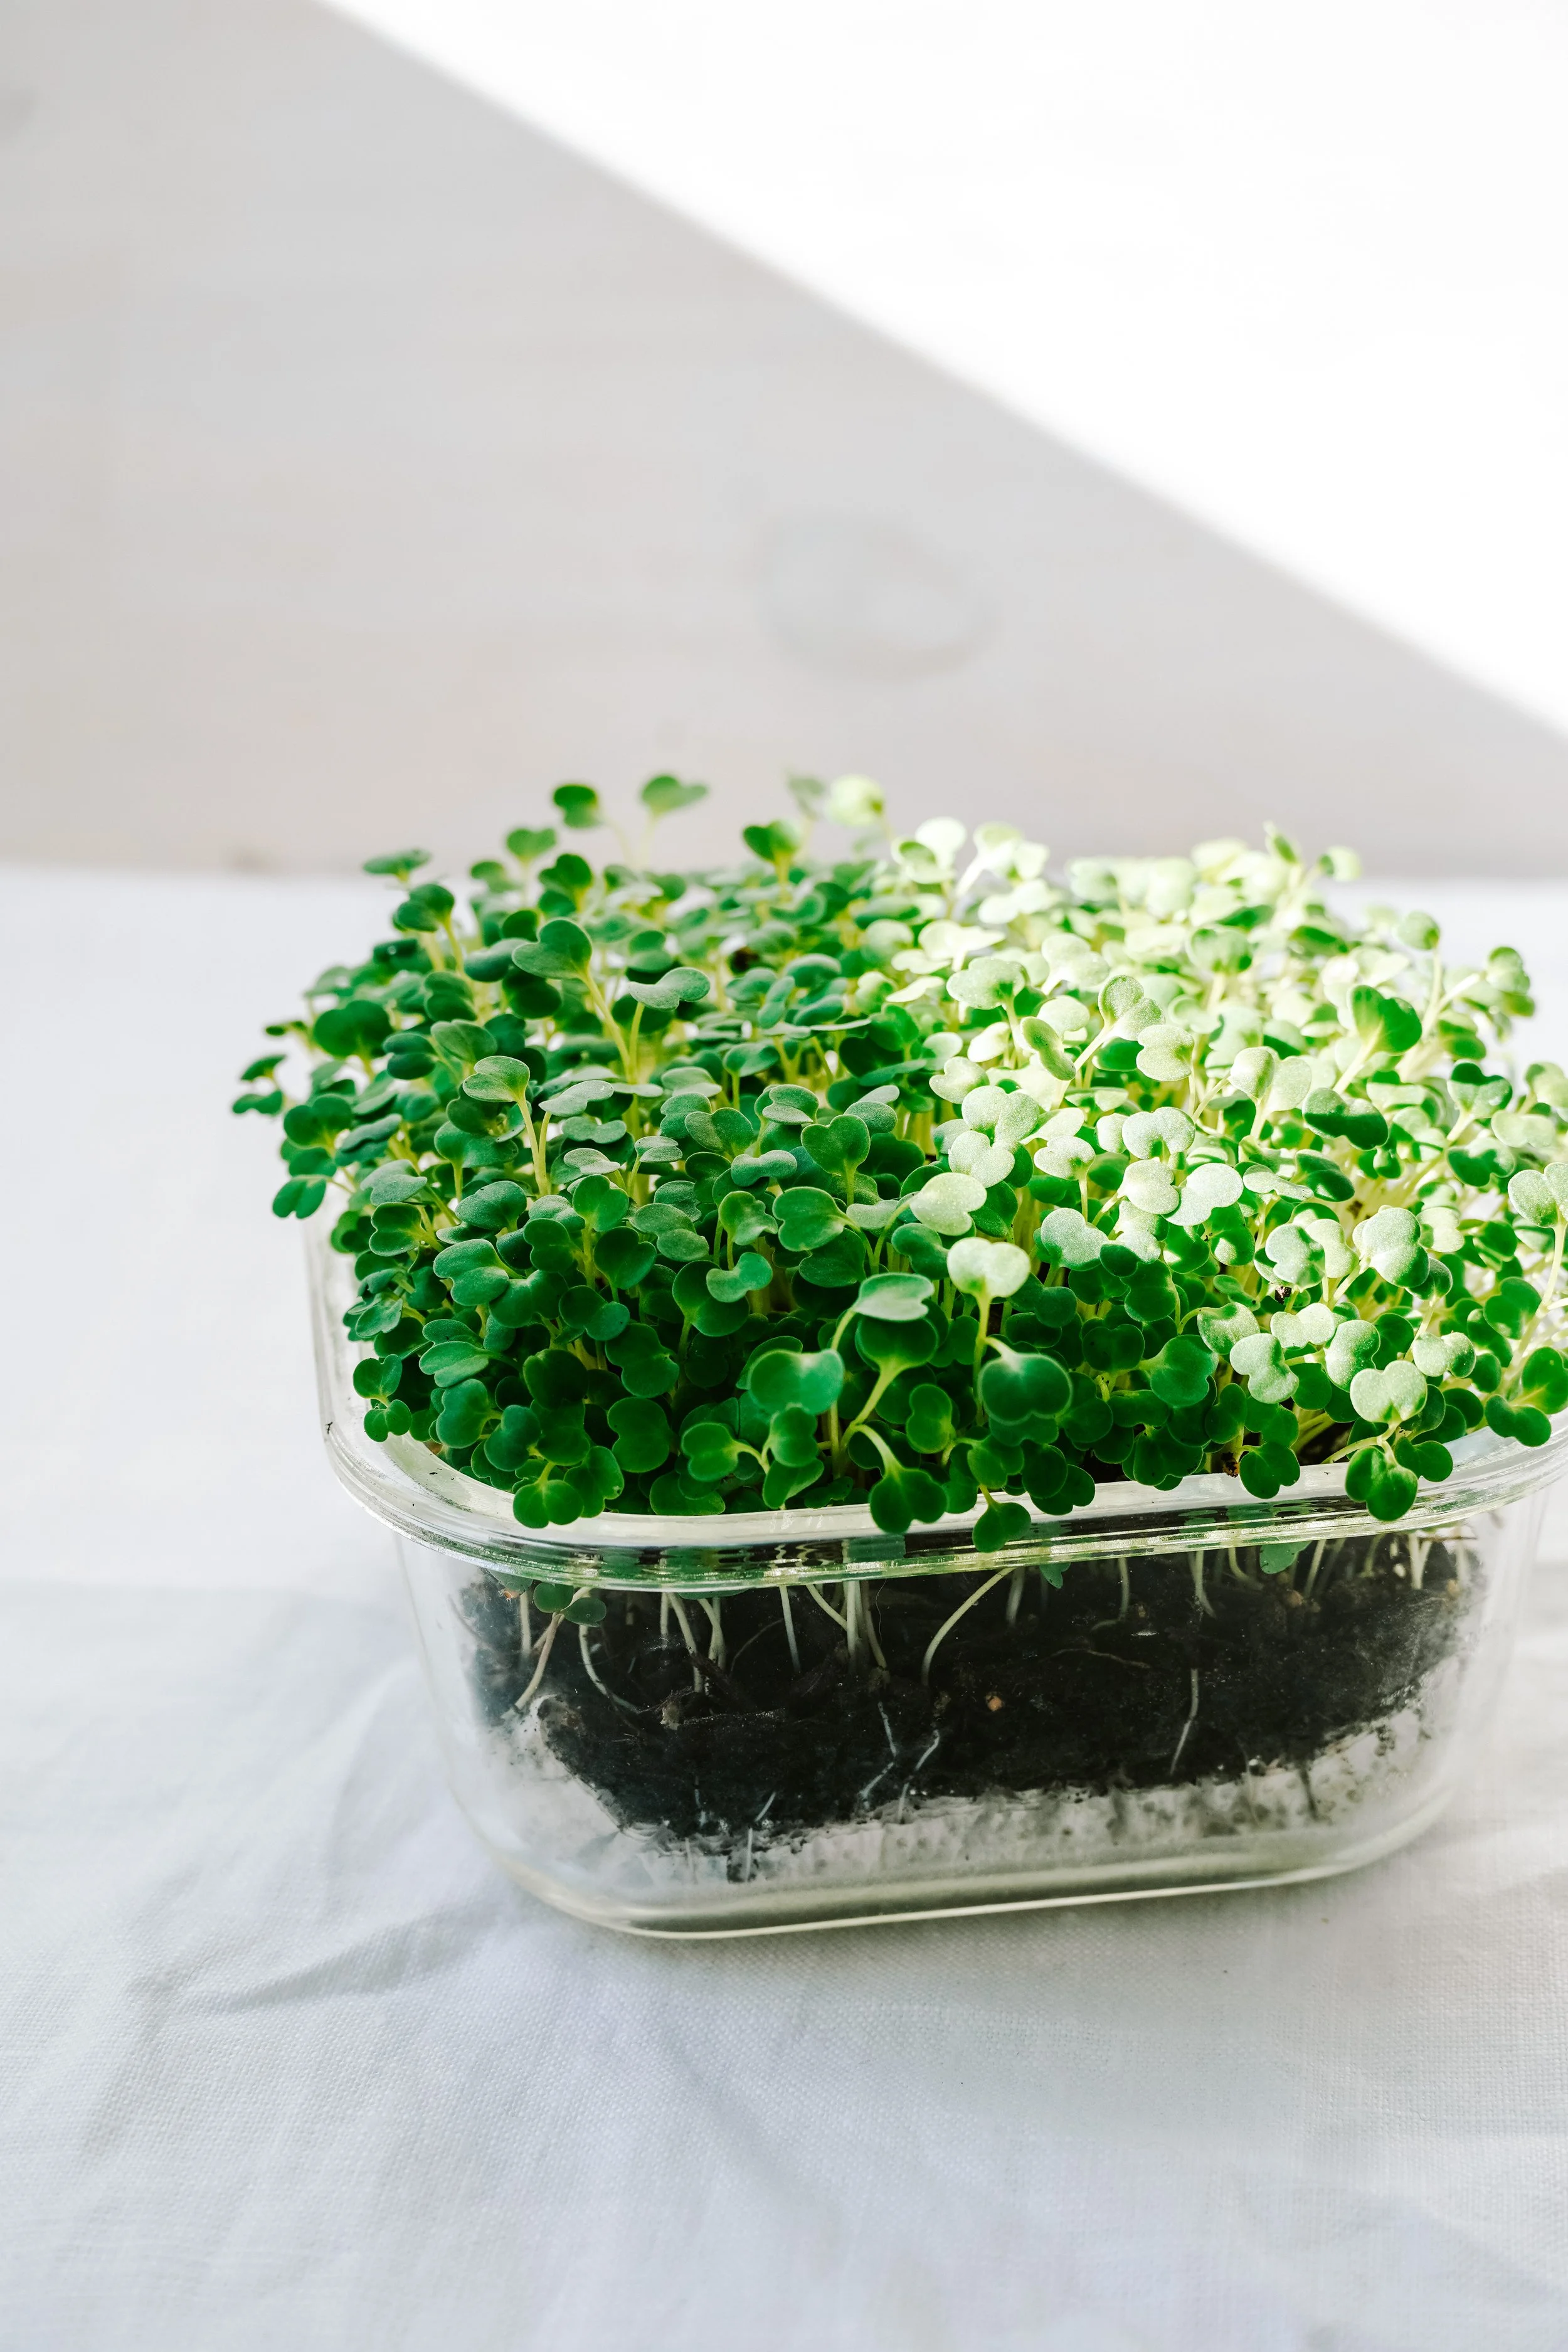
You will be eating most of the varieties within 7 days. Once they have reached about 5cm tall they are ready to eat (See below for more details on how to harvest). Enjoy them as a garnish with taco’s, soup, sandwiches, curry, salads, pasta and much more!
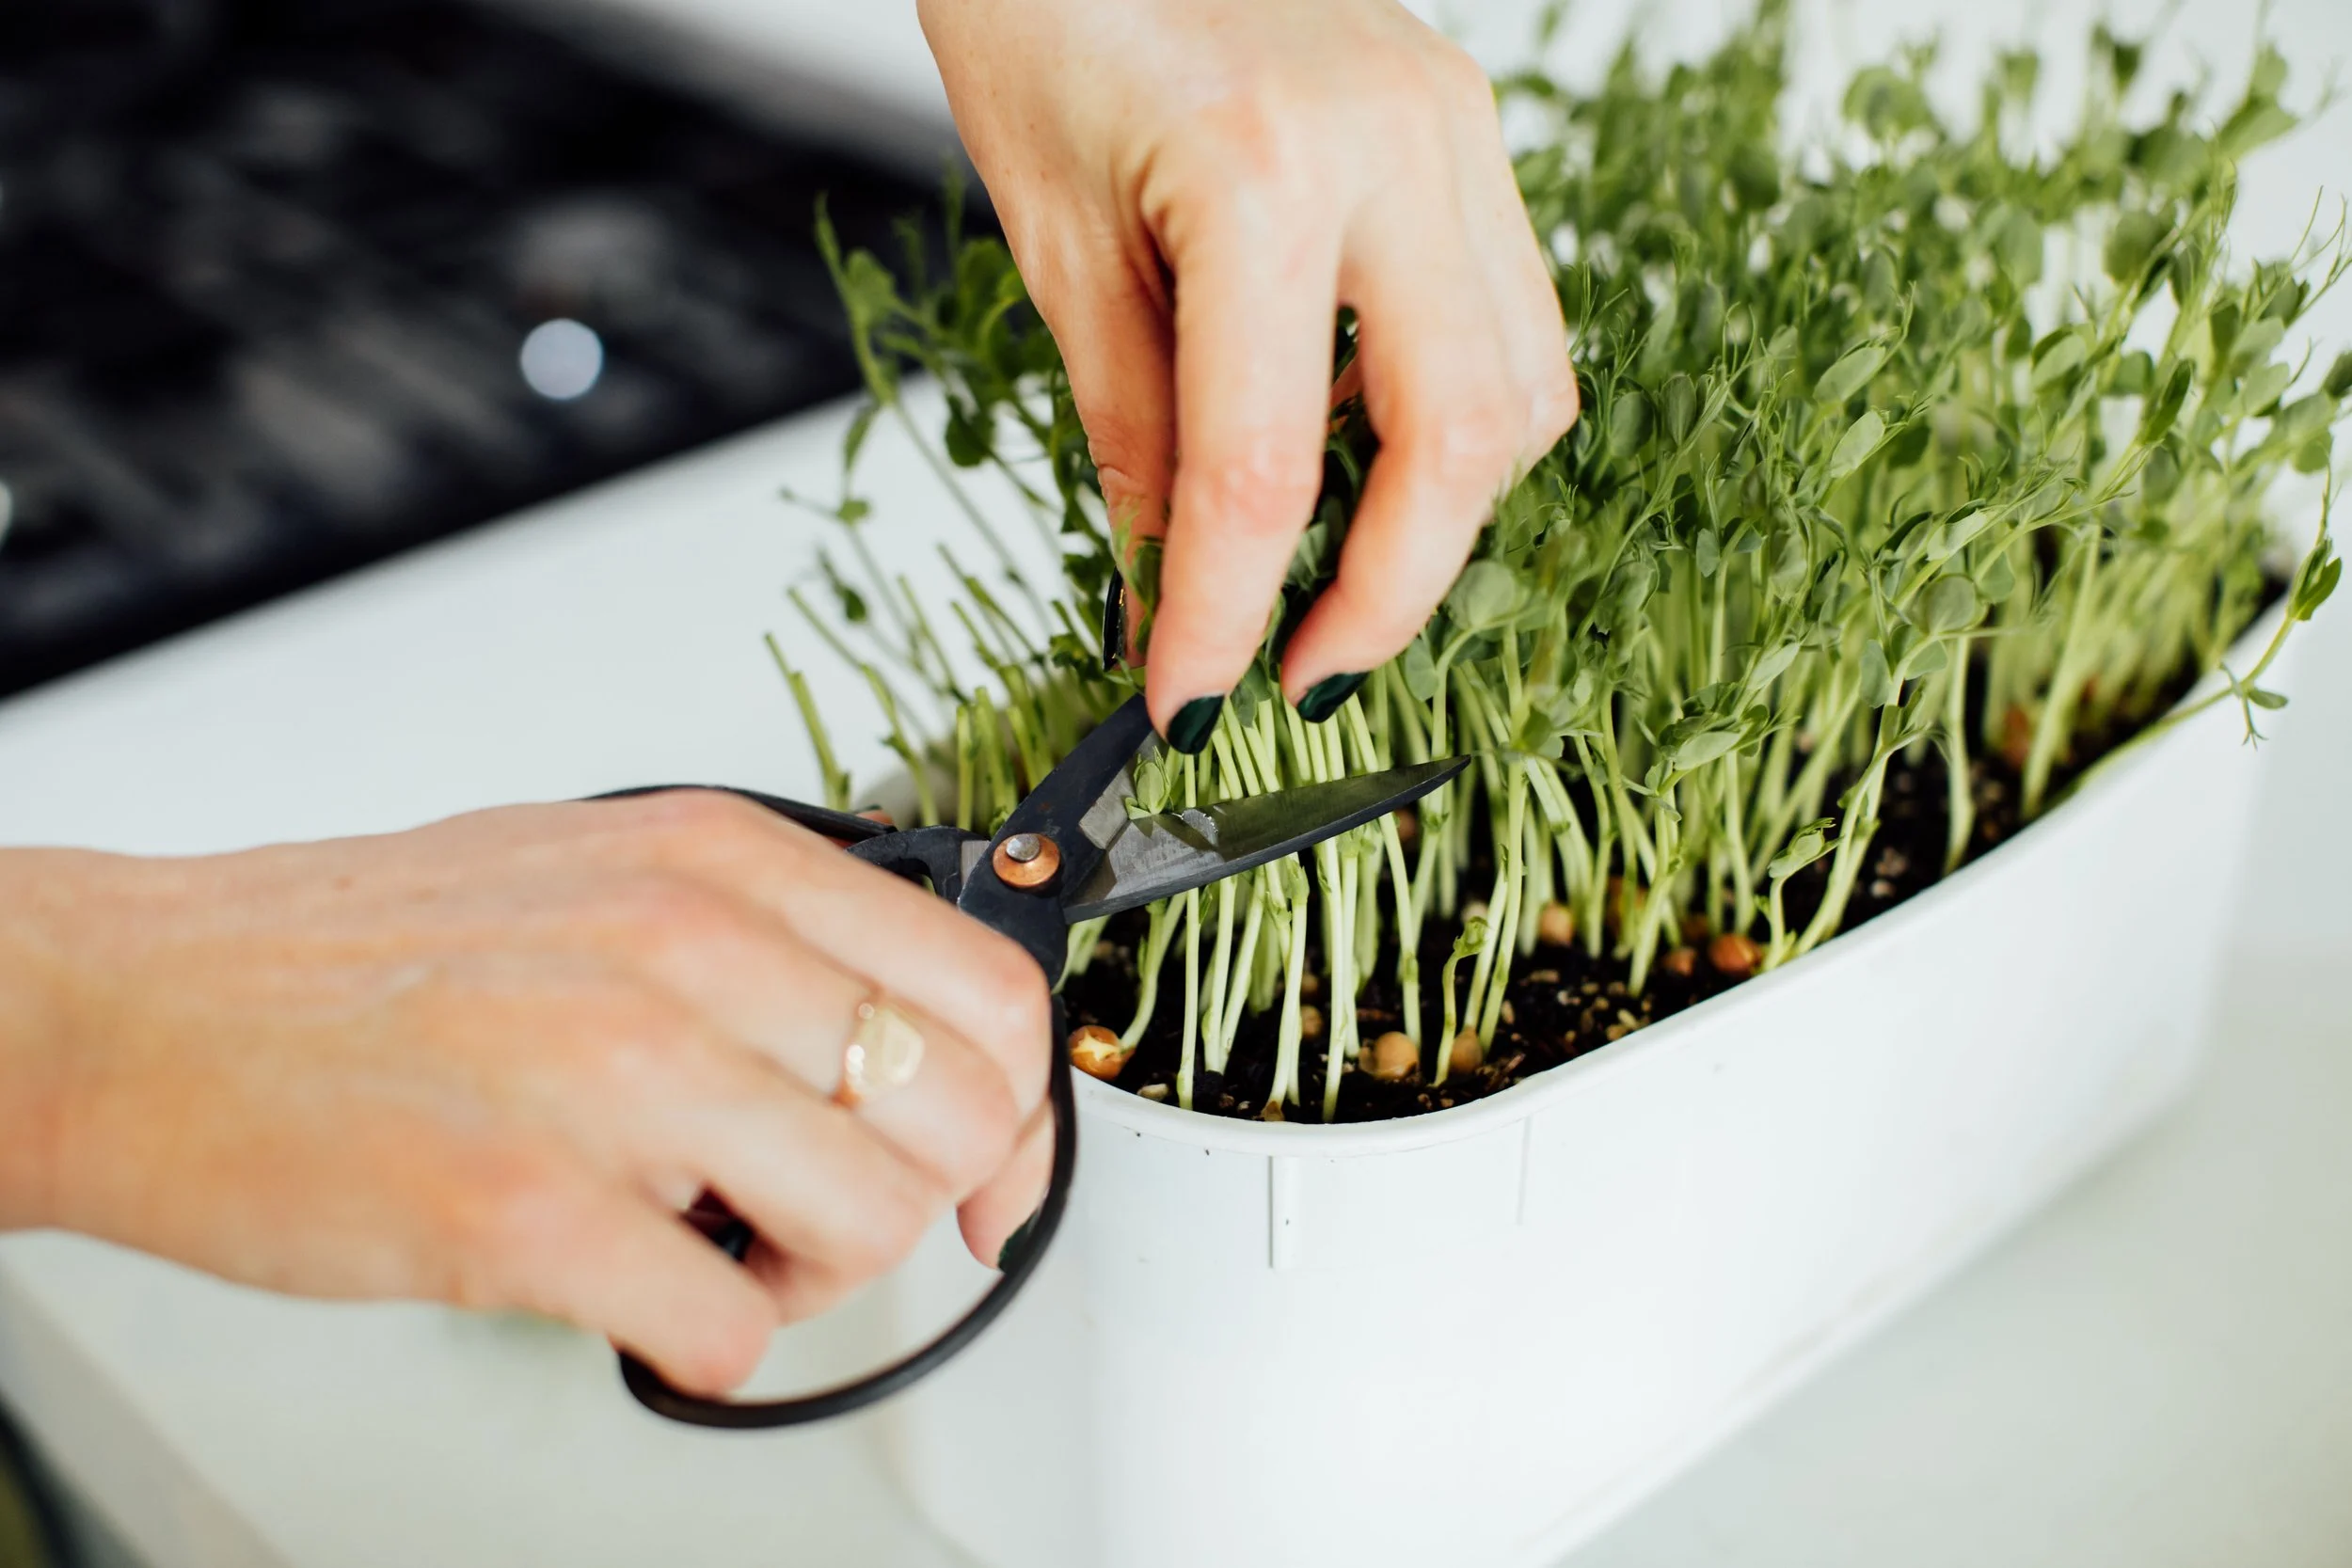
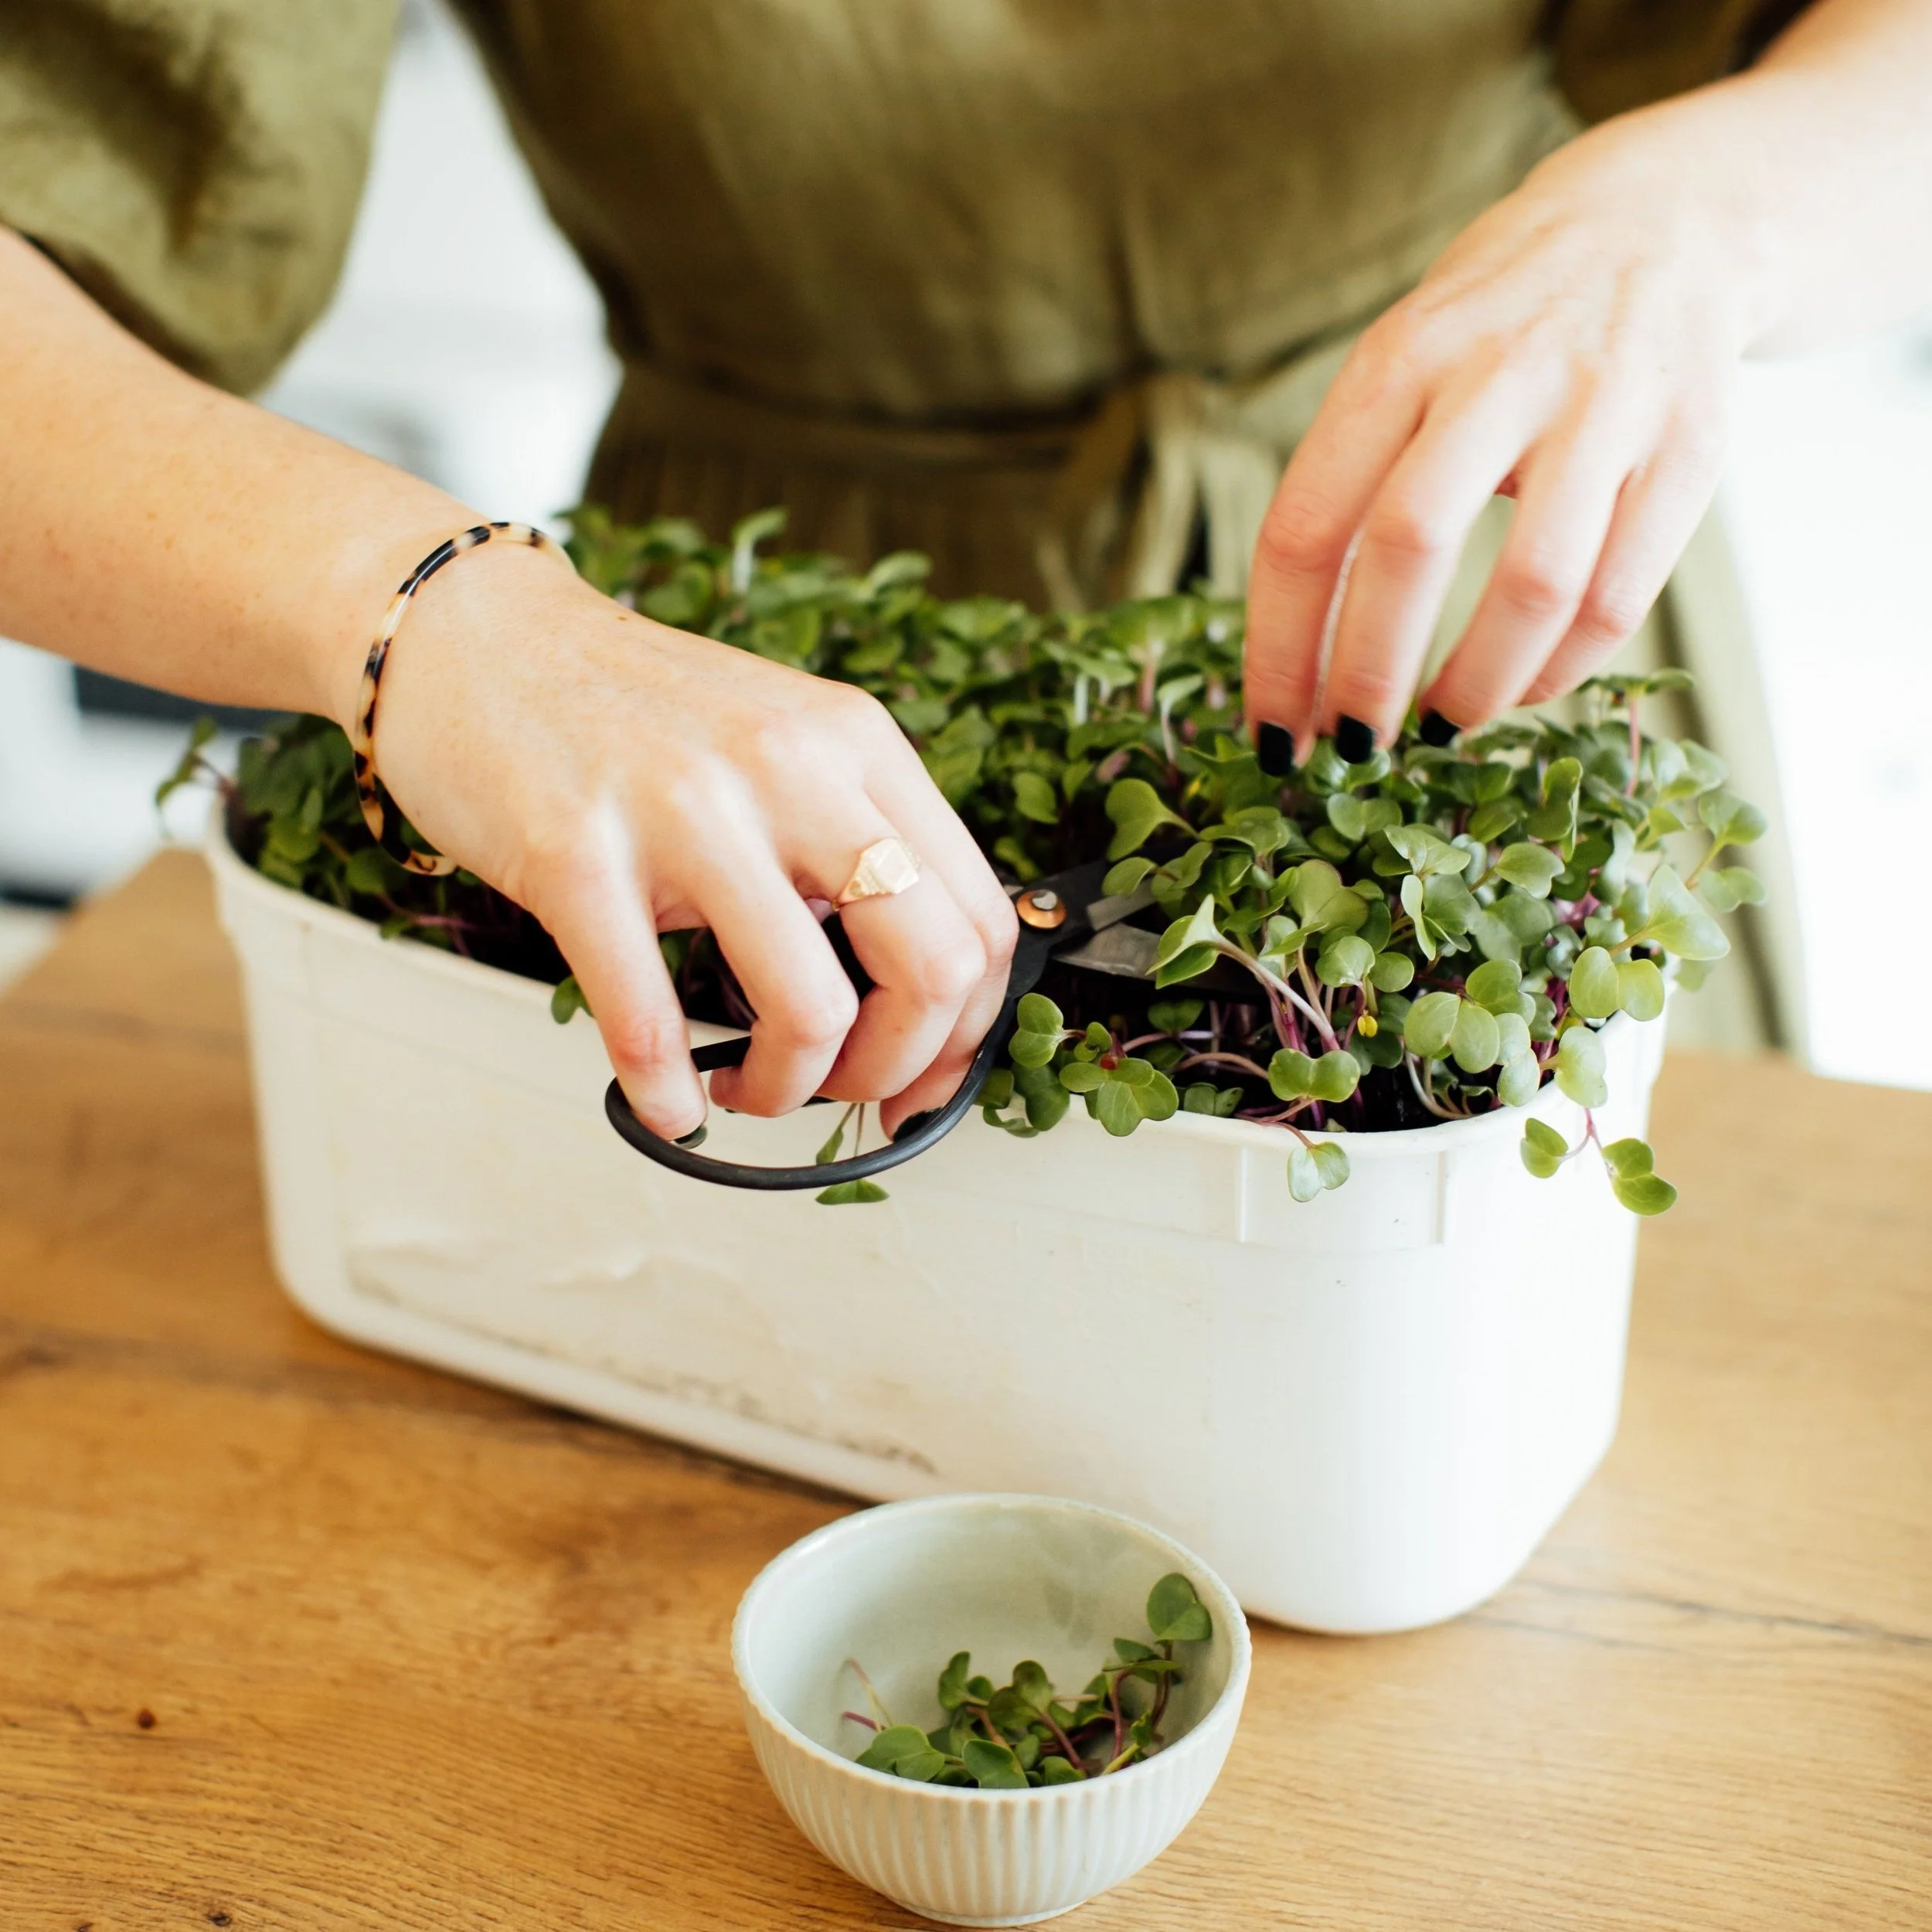
HARVESTING
When you are ready to harvest your micro greens, the best thing to do is patch cut them. So you don’t mow them off but take bits from all over your tray. By doing this it gives more space for them ones you haven’t cut and means they can grow bigger and also any that are below the leaf canopy will then grow up. This makes your tray last longer and you get more from what you have sown.
With the peas and coriander, you can leave them to grow bigger than 5cm so that they start to develop a ‘true leaf’ and then when you havest you cut above the bottom leaves. This encourages new growth and means the plant can re grow for weeks and weeks if you repeat this.

Step by step guide - with images

Youtube video on how to grow micro greens
With a great picture frozen as the cover of me haha! Great facials.